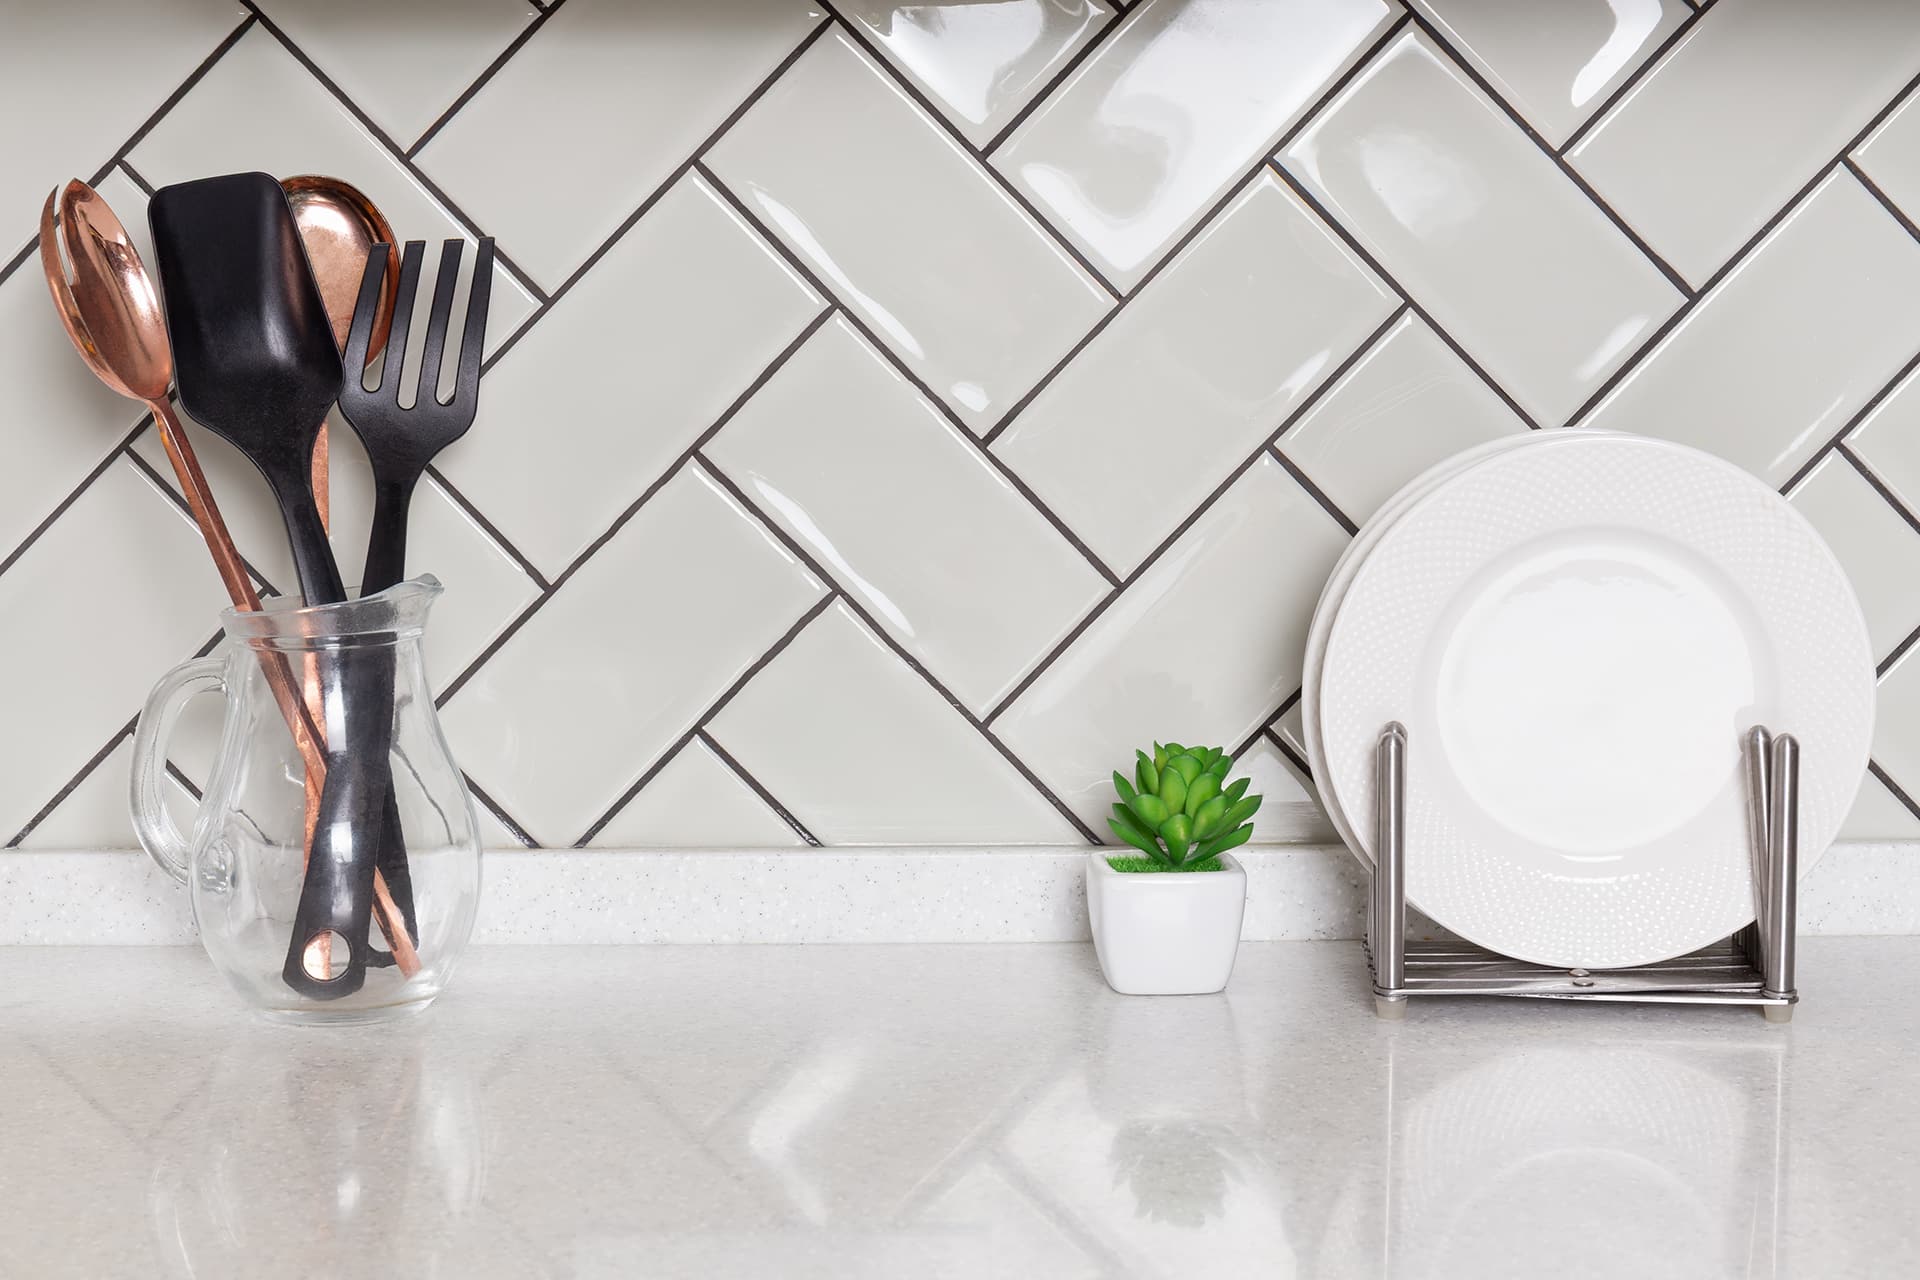
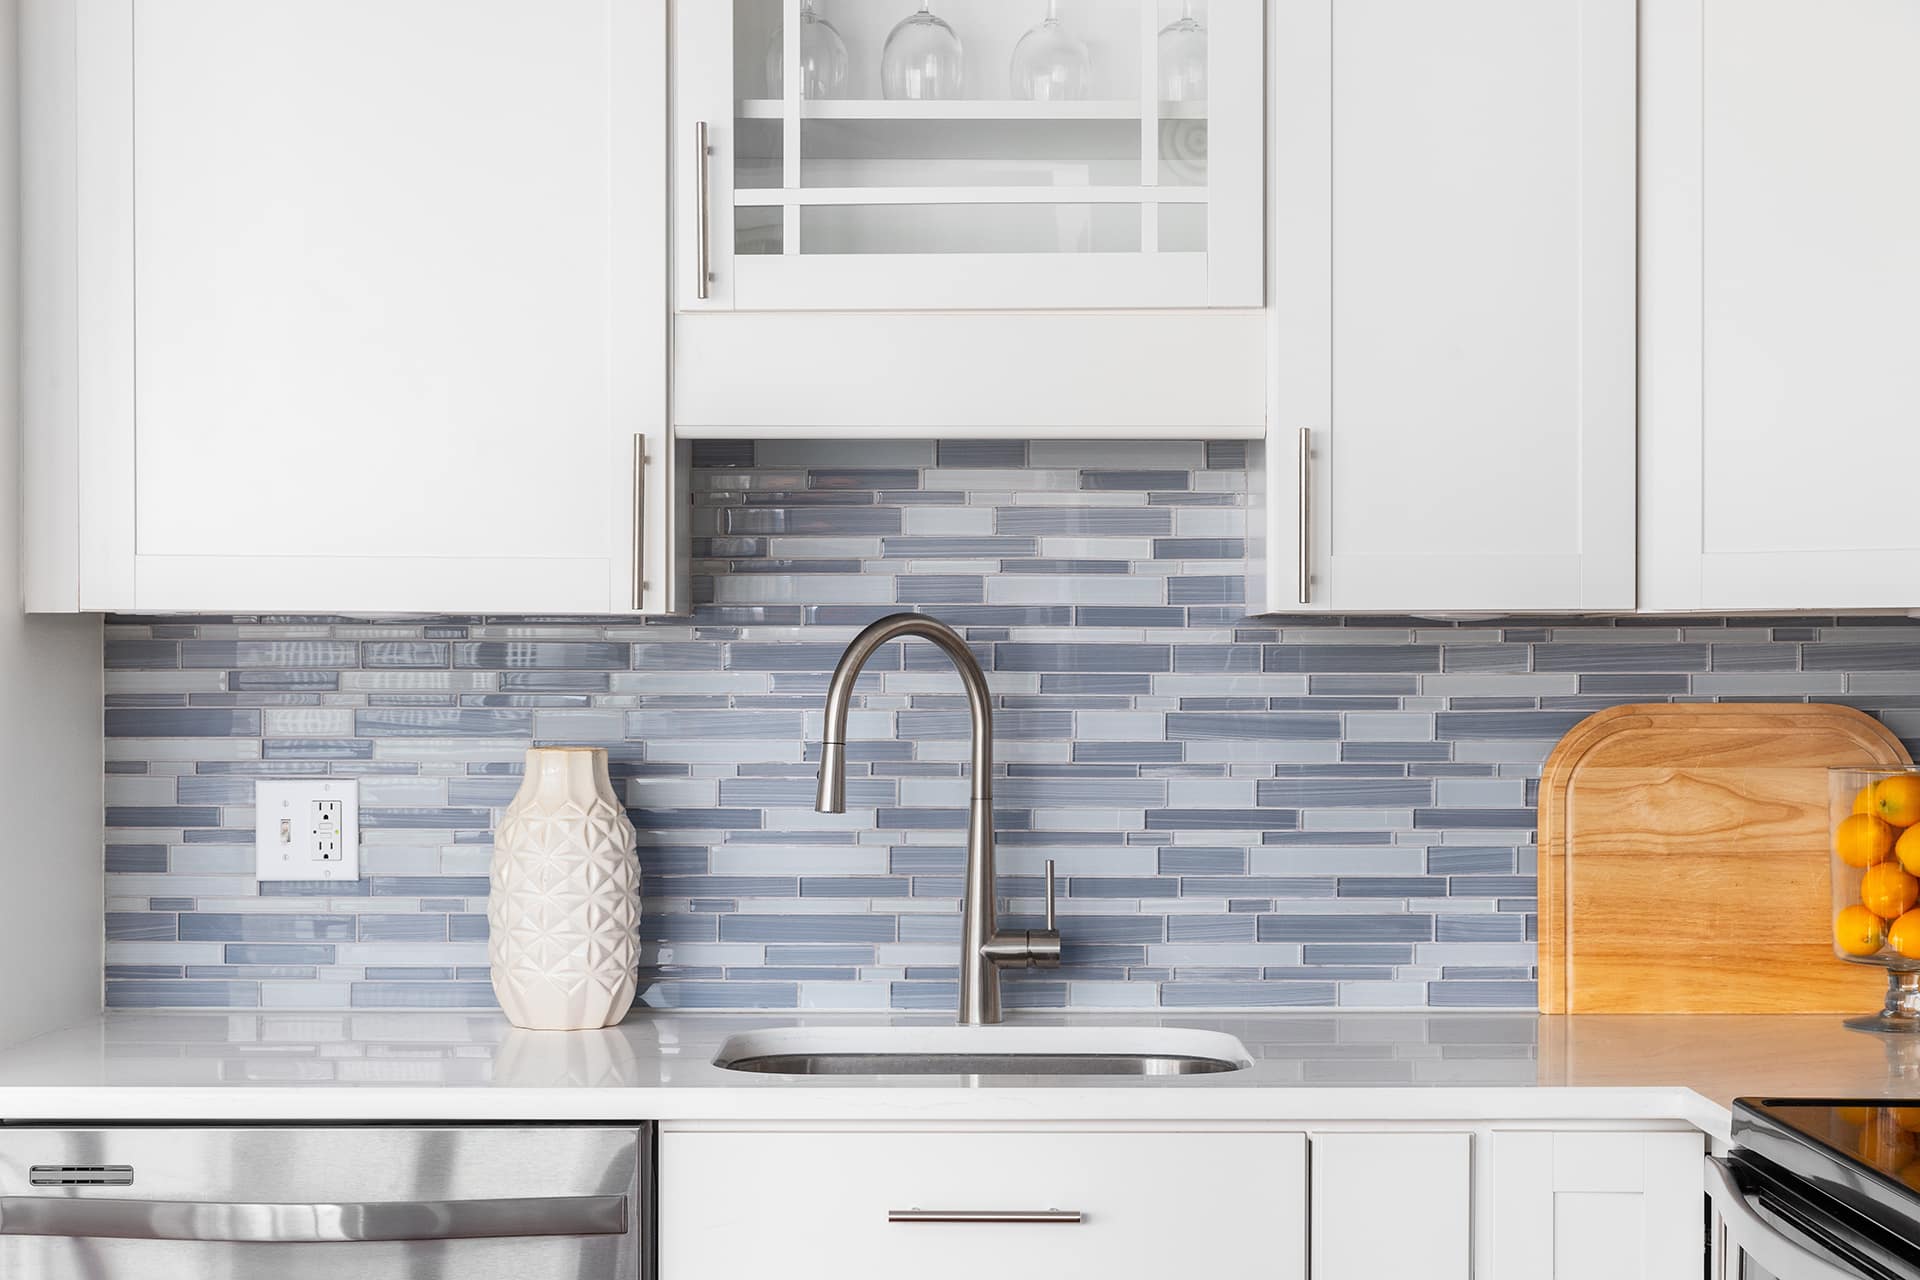
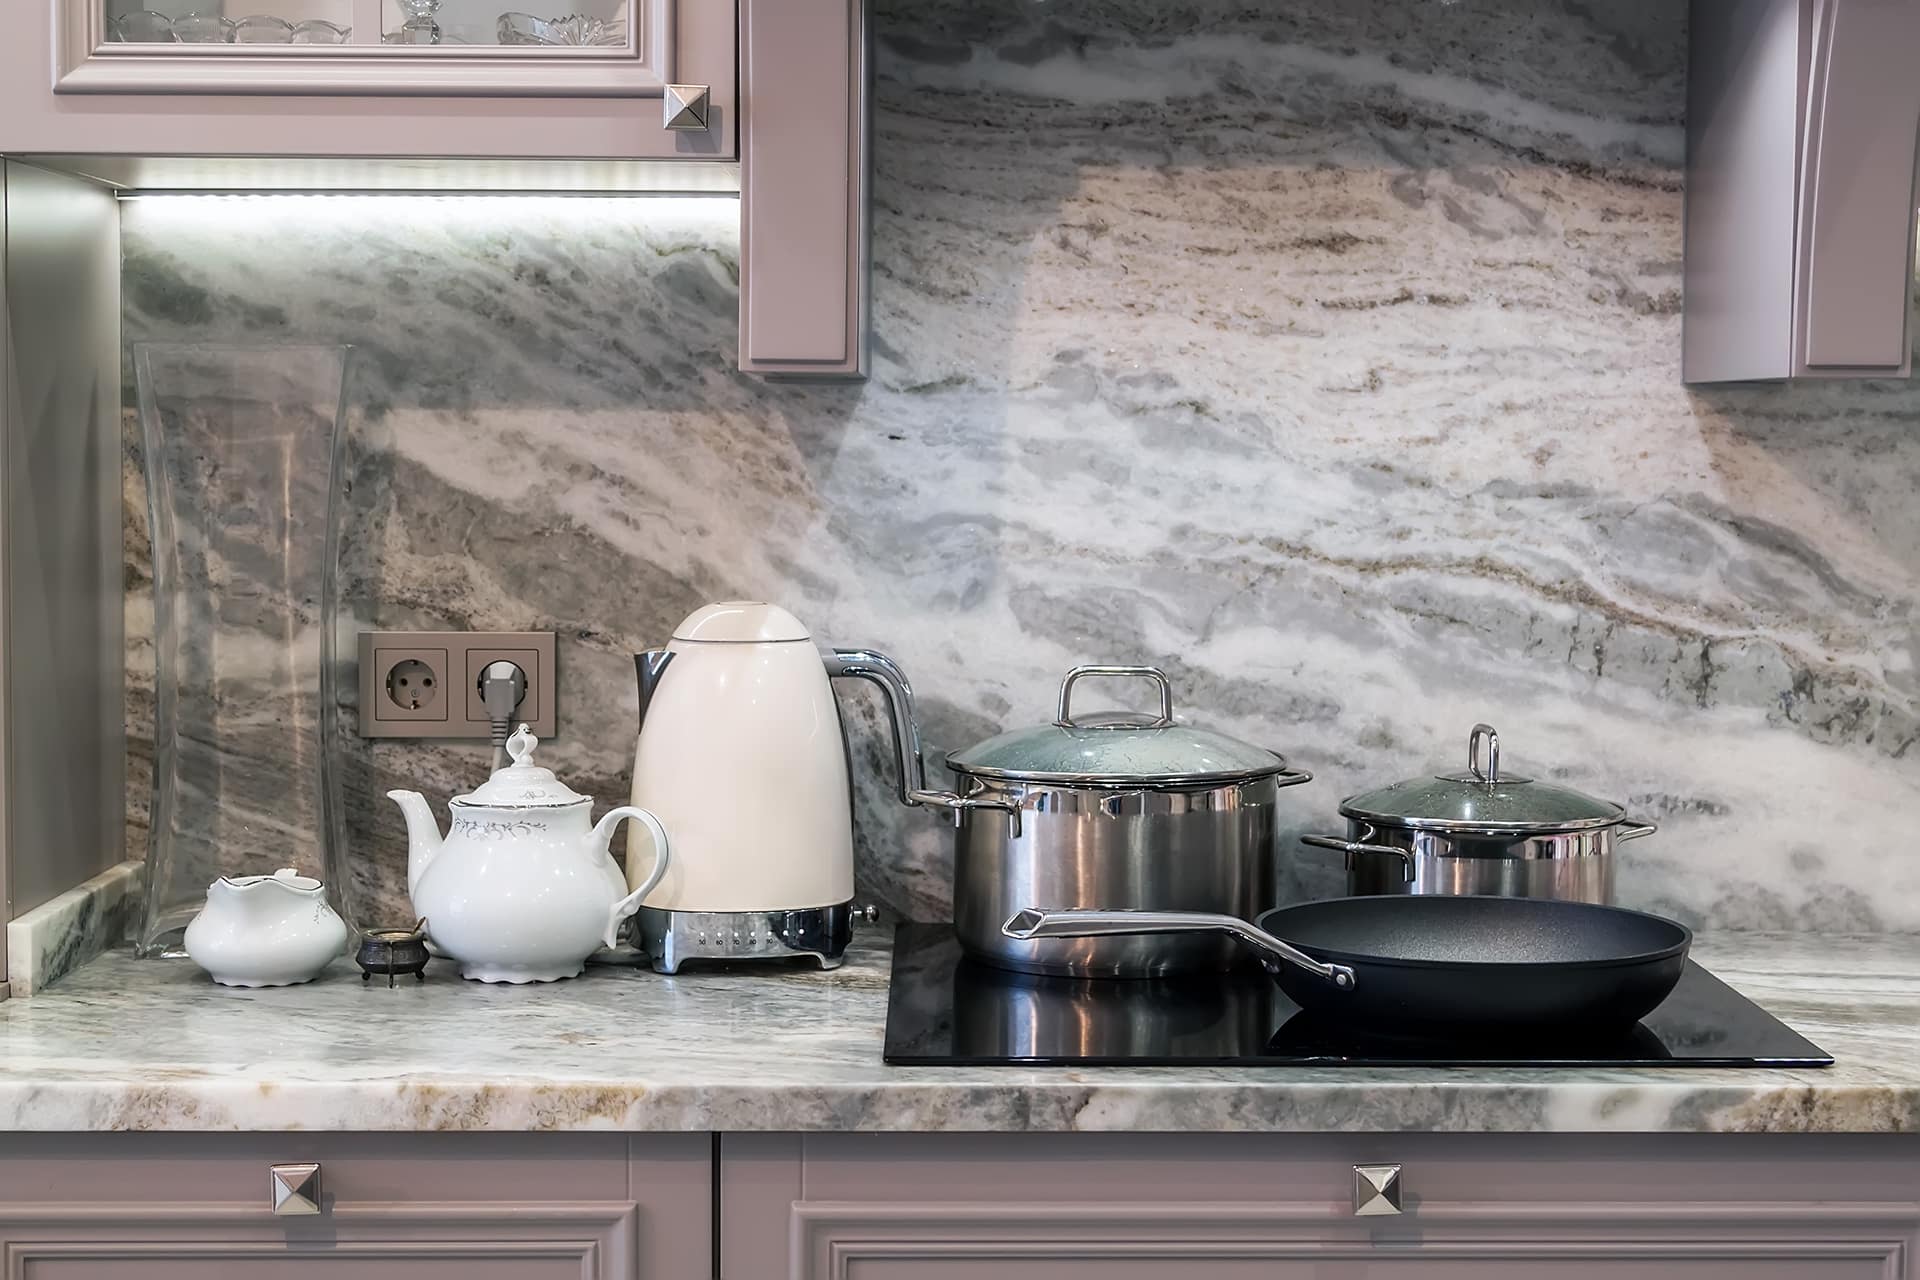
A kitchen backsplash is the protective and decorative surface installed on the wall between your countertops and upper cabinets. This essential element serves dual purposes: safeguarding your walls from water damage, grease splatters, and food stains while elevating your kitchen’s aesthetic appeal.
You might think of a backsplash as simply a design choice, but it’s actually a critical component in maintaining your kitchen’s longevity. Without proper wall protection, moisture seeps into drywall, creating costly damage and potential mold issues. The right backsplash transforms your cooking space from purely functional to visually stunning.
This comprehensive kitchen backsplash installation guide walks you through every step of the process. You’ll learn how to accurately measure your space, select appropriate materials for your needs, and execute professional-quality installation techniques. Whether you’re considering ceramic tiles, natural stone like granite or marble, or budget-friendly peel-and-stick options, you’ll gain the knowledge needed to make informed decisions and achieve results that last for years.
Understanding Kitchen Backsplashes
A kitchen backsplash is like a shield for your walls, protecting them from the messiness of cooking. When you’re busy sautéing veggies or doing the dishes, water, grease, and food bits are constantly hitting the space between your countertops and upper cabinets. If you don’t have a proper backsplash in place, these substances can seep into the drywall, causing stains, mold growth, and damage to your walls over time.
Why You Need a Backsplash
But a backsplash isn’t just about protection. It also serves other important purposes:
- Design Element: A well-chosen backsplash can become the centerpiece of your kitchen, bringing together various design elements and creating a cohesive look.
- Easy Maintenance: Unlike painted or wallpapered walls that require more effort to clean, a backsplash can be wiped down effortlessly with a damp cloth.
- Versatile Material Options: With so many materials available for backsplashes, you have the freedom to express your personal style and choose something that complements your kitchen decor.
The Benefits of Different Backsplash Materials
Here are some popular backsplash materials and their benefits:
1. Ceramic Tiles
Ceramic tiles are affordable and durable. They offer a wide range of design options, featuring timeless appeal with subway tiles or intricate visual interest with mosaic patterns.
2. Natural Stone
Natural stone offers unmatched elegance and uniqueness. Each slab has distinctive veining and color variations. For example, granite provides exceptional durability and heat resistance, while marble offers classic sophistication. Onyx can create dramatic translucent effects when backlit.
3. Peel-and-Stick Options
If you’re looking for budget-friendly solutions as a renter or seeking temporary updates, peel-and-stick options might be ideal. These vinyl or gel products mimic traditional tiles without the need for adhesive application or professional installation.
Whether you’re looking for durability, elegance, or affordability, there’s a backsplash material out there that suits your needs perfectly.
Planning Your Kitchen Backsplash Installation
Measuring the Backsplash Area
Accurate measuring backsplash area starts with calculating the square footage of each wall section. Measure the width and height of your backsplash area in inches, then multiply these numbers together. Divide the result by 144 to convert to square feet. You’ll need to measure around obstacles like windows, outlets, and switches—don’t subtract these areas from your total yet.
Checking for Surface Imperfections
When measuring, pay attention to uneven or damaged surfaces. Run your hand along the wall to detect bumps, cracks, or areas where previous adhesive remains. These imperfections can affect tile adhesion and create visible gaps in your finished backsplash. You may need to apply a skim coat of joint compound or use a thicker adhesive layer in these spots to achieve a level surface.
Calculating Tile Quantity
Tile quantity calculation requires precision, but you should never order the exact amount you need. The tile waste allowance accounts for:
- Cutting errors and broken tiles during installation
- Future repairs if tiles crack or chip
- Pattern matching for natural stone materials like granite or marble
- Cuts around outlets, corners, and edges
Add 10% to your total square footage calculation for standard installations. If you’re working with diagonal patterns, intricate designs, or natural stone with significant veining patterns, increase this to 15%. This buffer ensures you won’t run short mid-project or struggle to find matching tiles from a different batch later.
Selecting Suitable Materials and Tools for Your Kitchen Backsplash Installation
Choosing the right backsplash tile types makes a significant difference in both the installation process and the final result. Ceramic subway tiles remain a popular choice—they’re affordable, easy to clean, and you can find them in countless colors and finishes. You’ll appreciate their forgiving nature during installation, especially if this is your first backsplash project.
However, if you’re looking to elevate your kitchen’s aesthetic, consider opting for natural stone options like granite or marble. These materials bring unmatched elegance and durability to your kitchen. Granite resists heat and scratches better than most materials, while marble offers distinctive veining that creates a luxurious focal point. The trade-off? Natural stone costs more and requires sealing to prevent staining. You’ll also need to handle these materials more carefully during cutting and installation.
For top-notch natural stone products, companies like R&J Granite Corp are leading providers with over 10 years of experience in crafting high-quality granite and marble products. Their extensive portfolio showcases their craftsmanship in delivering superior natural stone products for residential and commercial properties.
Your installation tools directly impact the quality of your finished backsplash. Here’s what you need:
- Tile cutters or wet saws – Manual tile cutters work for straight cuts in ceramic tiles, but you’ll want a wet saw for natural stone or intricate cuts
- Notched trowels – The notch size depends on your tile size; larger tiles need deeper notches for proper adhesive coverage
- Tile spacers – These maintain consistent grout lines (typically 1/16″ to 1/8″ for backsplashes)
- Grout floats – Rubber floats push grout into joints without scratching tile surfaces
- Level and measuring tape – Non-negotiable for keeping your installation straight and professional-looking
If you’re a builder or contractor seeking tailored stone fabrication and installation services, R&J Granite offers specialized services to meet your unique needs.
Preparing the Kitchen for Installation
Kitchen prep for tiling sets the foundation for a successful backsplash project. You need to create a clean, accessible workspace before you start handling materials and tools.
- Clear the countertops: Remove everything from your countertops, including decorations, utensils, and any other items.
- Relocate small appliances: Move small appliances like coffee makers, toasters, and mixers to another room to free up space.
- Organize your workspace: Use the cleared countertop space to organize your tiles, mix adhesive, and set up your tools.
- Consider new countertops: If you’re thinking about giving your surfaces a fresh look, check out options for custom countertops.
- Access behind the stove: If possible, pull out your stove to get better access to the wall behind it and prevent any accidental damage.
Safety precautions require you to disconnect electrical power at the circuit breaker before working around outlets and switches. Never attempt to tile around live electrical components. Use a voltage tester to confirm the power is off before proceeding. Remove outlet covers and switch plates, storing the screws in a labeled container so you don’t lose them.
Cover your countertops with drop cloths or cardboard to protect them from scratches, adhesive drips, and falling tools. Tape plastic sheeting along the edges where the countertop meets the wall to catch debris and make cleanup easier.
Step-by-Step Kitchen Backsplash Installation Process: A Comprehensive Guide
1. Setting Up Guidelines and Supports: Ensuring a Flawless Start to Your Kitchen Backsplash Project
The foundation of a professional-looking backsplash starts with proper guidelines and support systems. You need to establish reference points that keep your tiles perfectly aligned throughout the installation.
Creating Your Reference Lines
Start by locating the lowest point of your countertop using a level. Countertops rarely sit perfectly level, and you need to identify this starting point to prevent gaps between your backsplash and counter surface. Mark this spot and use it as your baseline for all measurements.
If you’re considering a new granite countertop, it’s essential to budget appropriately for such an investment. This guide will help you understand costs, save money, and plan for unexpected expenses.
Installing a Ledger Board
A ledger board provides crucial support for your first row of tiles while the adhesive sets. You’ll want to:
- Position a straight 1×2 board horizontally along your wall, one tile height above the countertop
- Secure it with screws driven into wall studs
- Verify the board is level using a 4-foot level
- Check multiple points along the board’s length
Leveling Walls for Backsplash Installation
Inspect your walls for irregularities before proceeding. Run your hand along the surface to detect bumps or depressions. High spots need sanding down, while low areas require filling with joint compound. This step prevents tiles from rocking or sitting unevenly, which creates weak points in your installation. A flat wall surface ensures proper adhesive contact and prevents future tile failure.
If you have any questions about our services or are ready to start your project, feel free to contact us. Our team is here to help with expert guidance and free quotes.
2. Applying Adhesive and Placing Tiles: Mastering the Art of Tile Placement for a Stunning Finish.
With your guidelines and ledger board securely in place, you’re ready to start the actual tile installation. Begin by mixing your thin-set mortar according to the manufacturer’s instructions—the consistency should resemble peanut butter, thick enough to hold the tiles but spreadable.
Proper Mortar Application Techniques:
- Load your notched trowel with mortar and spread it on the wall in small sections (about 2-3 square feet at a time)
- Hold the trowel at a 45-degree angle to create consistent ridges
- Work from the bottom up, starting at your ledger board
- Press each tile firmly into the mortar with a slight twisting motion
You’ll want to place tile spacers between each tile to maintain uniform grout lines. I’ve found that working in small sections prevents the mortar from drying before you can set the tiles. Check each tile’s level as you go—you can’t fix alignment issues once the mortar sets. Press tiles gently but firmly, ensuring the mortar ridges collapse completely for maximum adhesion. Natural stone materials like granite or marble require special thin-set formulations, so verify compatibility before starting your installation.
3. Cutting Tiles and Handling Obstacles: Expert Tips for Achieving Perfectly Fitted Tiles Around Outlets and Corners.
Precise tile cutting separates amateur installations from professional results. You’ll encounter outlets, switches, and corners that demand custom cuts. A wet saw delivers the cleanest cuts for ceramic and natural stone materials like granite or marble, while a manual tile cutter works well for straight cuts on ceramic tiles.
Measuring and marking tiles accurately:
- Hold the tile against the wall where it needs to fit
- Mark cut lines on the glazed surface using a pencil or marker
- Account for grout line spacing in your measurements
- Double-check measurements before cutting—you can’t un-cut a tile
For outlet cutouts, you’ll need to create precise rectangular openings. Place the tile face-up on your cutting surface and score the outline with a glass cutter. Use tile nippers to gradually remove small pieces from the center outward, working slowly to prevent cracking. Natural stone materials like granite require diamond-tipped blades and steady hands—rushing leads to chips and breaks.
Corner cuts demand special attention. Inside corners need tiles cut at exact 90-degree angles, while outside corners benefit from bullnose tiles that provide a finished edge. When working with premium materials like marble or onyx, consider having professionals handle intricate cuts to preserve the stone’s integrity and your investment.
4. Grouting and Finishing Touches: Sealing the Deal with Professional-Quality Grout Application Techniques.
After your tiles have set for 24 hours, you’re ready to grout. Mix your grout according to manufacturer specifications—you want a peanut butter-like consistency that spreads smoothly without being runny. Use a rubber grout float held at a 45-degree angle to push grout into the joints, working diagonally across the tiles to avoid pulling grout out of the spaces. You’ll need to work in small sections, typically 3-4 square feet at a time.
Key grout application steps:
- Press grout firmly into joints using diagonal strokes
- Remove excess grout with the float held at 90 degrees
- Wait 15-20 minutes, then wipe tiles with a damp sponge in circular motions
- Rinse your sponge frequently to prevent haze buildup
- Allow grout to cure for 48-72 hours before applying sealer
For natural stone materials like granite or marble, sourced from experienced fabricators, you’ll want to seal both the stone and grout lines. Apply sealer with a small brush or applicator pad, wiping away excess within the recommended time frame. This protective layer prevents staining and moisture penetration, extending your backsplash’s lifespan significantly.
When sealing your grout, remember that it’s essential for preventing moisture absorption and staining, especially in high-use areas like kitchens and bathrooms. For specific tile types such as ecru white antique mosaic tiles, you might find these grouting tips useful for achieving professional-quality results.
5. Post-installation Tasks: Restoring Power Outlets and Ensuring a Clean Slate After Your Kitchen Backsplash Transformation.
After the grout has cured for 24-48 hours, you can begin restoring your kitchen to full functionality. Start by carefully removing any protective tape or coverings from your countertops and adjacent surfaces. Use a damp sponge to wipe away any remaining grout haze from the tile surface—this residue often appears as a cloudy film that dulls your new backsplash’s shine.
Restoring power outlets after installation requires attention to detail. Before turning the power back on at the circuit breaker, inspect each outlet and switch to ensure no tile adhesive or grout has infiltrated the electrical boxes. Reattach outlet covers and switch plates, making sure they sit flush against the new tile surface. You may need outlet extenders if your tiles are particularly thick, especially when working with natural stone materials like granite or marble from suppliers like R&J Granite Corp.
Clean your tools immediately—dried thinset and grout can ruin trowels and spacers. Remove the ledger board you installed earlier, and fill any nail holes with matching caulk. Apply a bead of clear silicone caulk along the seam where your backsplash meets the countertop to create a waterproof seal that prevents moisture from seeping behind the tiles.
Maintenance Tips for Long-lasting Backsplash Beauty
Your newly installed backsplash deserves proper care to maintain its stunning appearance for years to come. Daily cleaning makes the biggest difference—wipe down your backsplash after cooking to prevent grease and food particles from building up. You’ll want to use a soft cloth or sponge with warm water and mild dish soap for routine maintenance.
Natural Stone Backsplashes
Natural stone backsplashes like granite, marble, and onyx require special attention. You should avoid acidic cleaners (vinegar, lemon juice, or harsh chemicals) that can etch or dull the surface. Instead, use pH-neutral cleaners specifically designed for natural stone. Apply a stone sealer every 6-12 months to protect against stains and moisture penetration.
If you have a quartz countertop, it’s important to know how to maintain quartz countertops for lasting shine. This guide provides tips on daily cleaning, stain removal, preventing damage, and long-term care specific to quartz surfaces.
Ceramic and Porcelain Tile Backsplashes
Ceramic and porcelain tiles are more forgiving. You can use standard household cleaners, but backsplash cleaning tips recommend avoiding abrasive scrubbers that might scratch the glaze. Pay extra attention to grout lines—these porous areas trap dirt and moisture. Clean grout with a dedicated grout cleaner and soft brush, then apply grout sealer annually to prevent discoloration and mold growth.
Alternative Backsplash Options for Budget-Friendly Updates
You don’t need to break the bank to transform your kitchen’s appearance. Painted backsplashes offer an incredibly affordable solution when you’re working with tight budgets. You can use specialty tile paint or high-gloss enamel to create a fresh, updated look on existing surfaces. This approach costs a fraction of traditional tile installation while delivering impressive results.
Peel-and-stick tiles have revolutionized budget backsplash solutions for homeowners seeking quick transformations. These adhesive-backed options come in various designs mimicking ceramic, subway tiles, and even natural stone patterns. You’ll appreciate the straightforward installation process—no mortar, no grout, no specialized tools required.
Beadboard panels present another cost-effective alternative. You can install these pre-finished panels directly over existing walls, then paint them in your preferred color. The vertical lines add visual interest and texture to your kitchen space.
Stainless steel sheets or tin ceiling tiles repurposed as backsplashes create industrial-chic aesthetics at reasonable prices. You’ll find these materials particularly suitable for rental properties or temporary updates before committing to permanent installations like granite or marble from experienced fabricators.


